How to Build Your First Portfolio Website for CS & IT Students
Your portfolio website is your digital handshake. It shows recruiters, professors, and peers who you are, what you can build, and why they should remember you. As a computer-science or IT student, a strong portfolio can open doors to internships, campus placements, and freelance gigs—often long before you even graduate. In this guide, you’ll learn step by step how to plan, build, and launch a simple yet powerful portfolio website that highlights your skills and projects.
1. Plan Your Portfolio Content
Before writing any code, sketch out what you want to show:
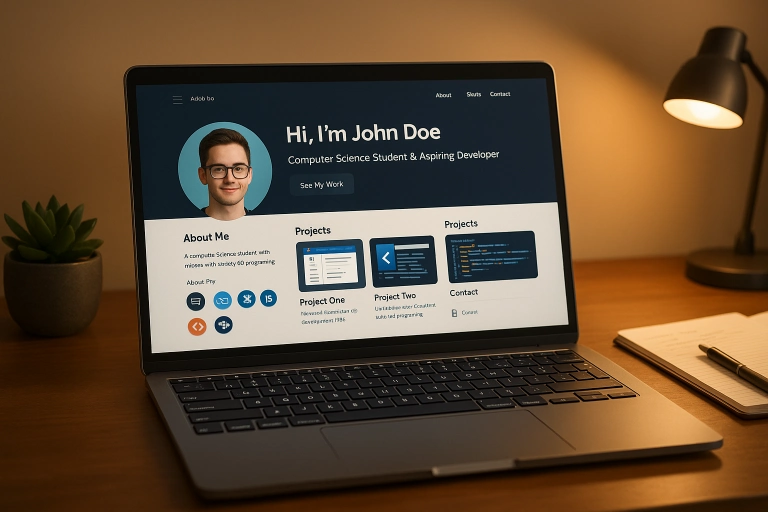
- Homepage with your name, title (“CS Student” or “IT Intern”), and a short tagline (e.g., “Building smart web apps”).
- About Me section: a friendly photo, one short paragraph about your background, and your areas of interest (AI, web development, networking, etc.).
- Projects showcase: 3–5 of your best assignments or side-projects. Include a screenshot, a short description, and tech stack (Python, React, Java, etc.).
- Skills list: coding languages, frameworks, tools, and any certifications.
- Contact or Connect: email address, GitHub link, LinkedIn, or a simple contact form.
Having this map in front of you keeps the build focused and ensures you don’t miss any key details.
2. Choose Your Tech Stack
You don’t need a fancy framework for your first site. Here are two beginner-friendly options:
- Option 1: HTML + CSS + JavaScript
- HTML for structure
- CSS (or Bootstrap/Tailwind) for styling
- Vanilla JavaScript for simple interactivity (scroll animations, mobile menu toggle)
- Option 2: Static Site Generator
- Gatsby, Next.js, or Hugo let you use React or Go-based templates
- Pre-built components and fast builds
- Easy deployment to GitHub Pages or Netlify
If you’re comfortable with JavaScript, try Next.js; otherwise, plain HTML/CSS is perfect for learning fundamentals.
3. Set Up Domain & Hosting
- Free option: Host on GitHub Pages at
yourusername.github.io. No cost and built-in version control. - Custom domain: Register a
.comor.devdomain (₹500–₹1,000/year) through Namecheap or GoDaddy, then point it to GitHub or Netlify. - Deployment:
- Create a GitHub repository named
yourusername.github.io. - Push your files (
index.html,/css,/js,/images) to themainbranch. - Enable Pages in the repo settings.
- Create a GitHub repository named
Within minutes, your site is live!
4. Build the Layout
- Header & Navigation
- Use a fixed navbar with links that scroll to each section.
- Keep it simple: Home | About | Projects | Contact.
- Hero Section
- Big bold heading: “Hi, I’m [Your Name]”
- Subheading: “Computer Science Student & Aspiring Developer”
- A call-to-action button: “See My Work” that links to your Projects section.
- About Me
- Two-column layout: photo on one side, text on the other.
- Bullet your top skills or interests for easy scanning.
- Projects Gallery
- Use a grid layout (2 or 3 columns).
- Each card: project image, title, short tagline, and “View Details” button that opens a modal or links to a live demo/GitHub.
- Skills & Tools
- Display icons or badges for each language/framework.
- Group them: “Languages,” “Frameworks,” “Tools.”
- Contact
- A simple form with name, email, and message.
- Or just list your email and GitHub/LinkedIn icons.
- Footer
- Include copyright and small links to your social profiles.
5. Polish with Best Practices
- Responsive design: Test on mobile and tablets. Use media queries or a responsive grid.
- SEO fundamentals:
- Unique
<title>tag on each page. <meta name="description">describing your site.- Use semantic HTML (
<header>,<section>,<footer>). - Alt text on images.
- Unique
- Performance:
- Compress images (use WebP or optimized JPEG).
- Minify CSS and JavaScript.
- Leverage browser caching via GitHub or Netlify defaults.
6. Test & Launch
- Proofread all text for spelling and grammar.
- Click through each link and form.
- Validate HTML/CSS with online validators.
- Share the preview URL with friends or mentors for feedback.
Once you’re happy, announce it on LinkedIn, post in your college group, and add the link to your résumé.
7. Keep Your Portfolio Fresh
Every semester or after each hackathon:
- Add new projects.
- Update your skills list.
- Refresh the design (colors, fonts, layout tweaks).
- Write a short blog post about your project journey to boost SEO and show your communication skills.
A living portfolio shows you’re active, always learning, and ready for the next opportunity!


